テキスト読み上げの使い方
Step1. TTS(テキスト読み上げ)ツールを開く
次の方法で TTS ツールを開くことができます。
- ❶ 左側の素材ライブラリー>「インポート」>「TTS」をクリック
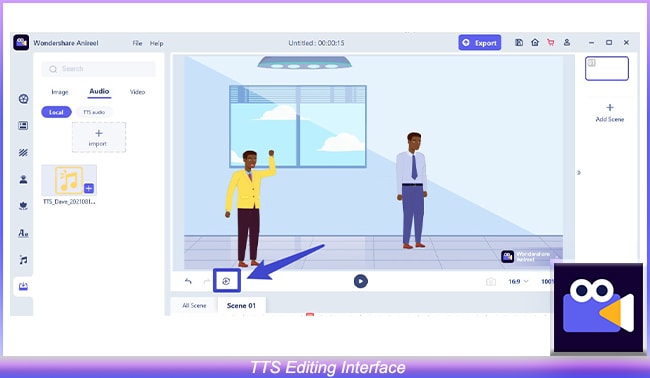
- ❷ Timeline → Audio → Generate TTS Audio → Add to Timeline → Right Click TTS Audio → Text-to-Speech
2. TTS Generation and Timeline Adding
You will receive 2000 experience characters for free at your first use experience to TTS.
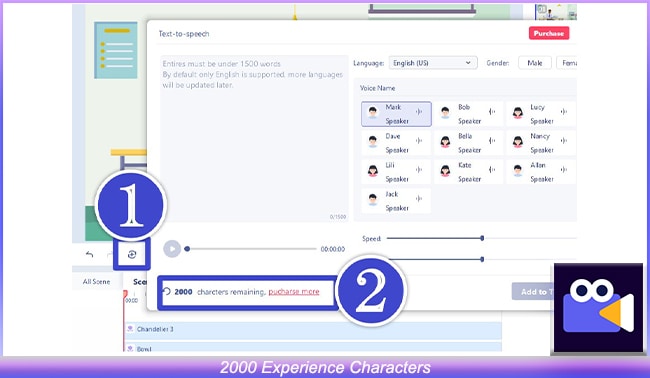
In the TTS editing interface, you can choose your favorite vocals for audition. Enter the text you want to convert into audio, and set the appropriate volume, speed, and pitch.
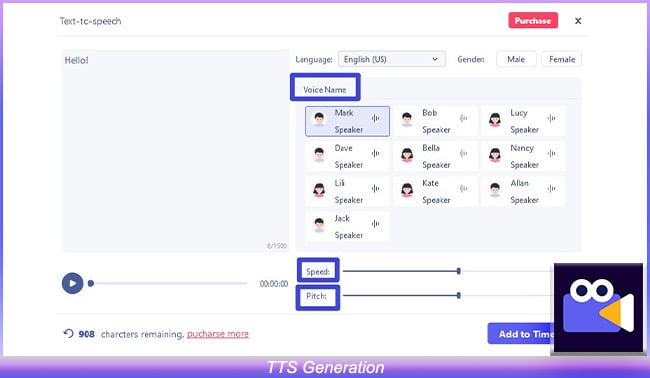
Click Generate, your TTS audio will be stored in "Import → Audio" in the resource area. Click "Add to Timeline" and the generated TTS will be placed on the timeline track.

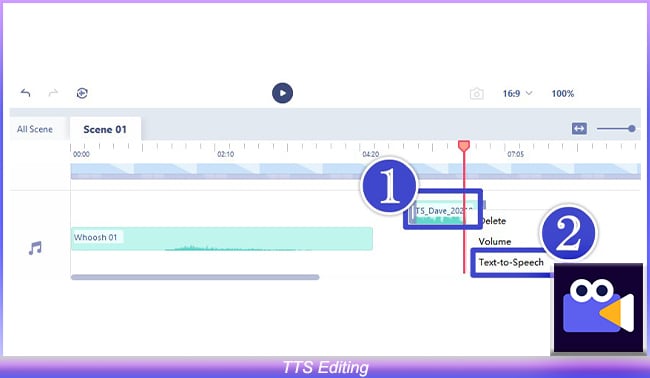
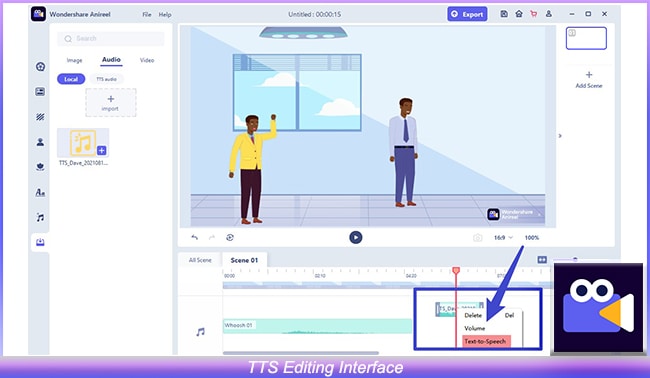
3. TTS Editing
If you want to edit the generated TTS, right-click the TTS audio clip on the timeline and click "Text-to-Speech".